
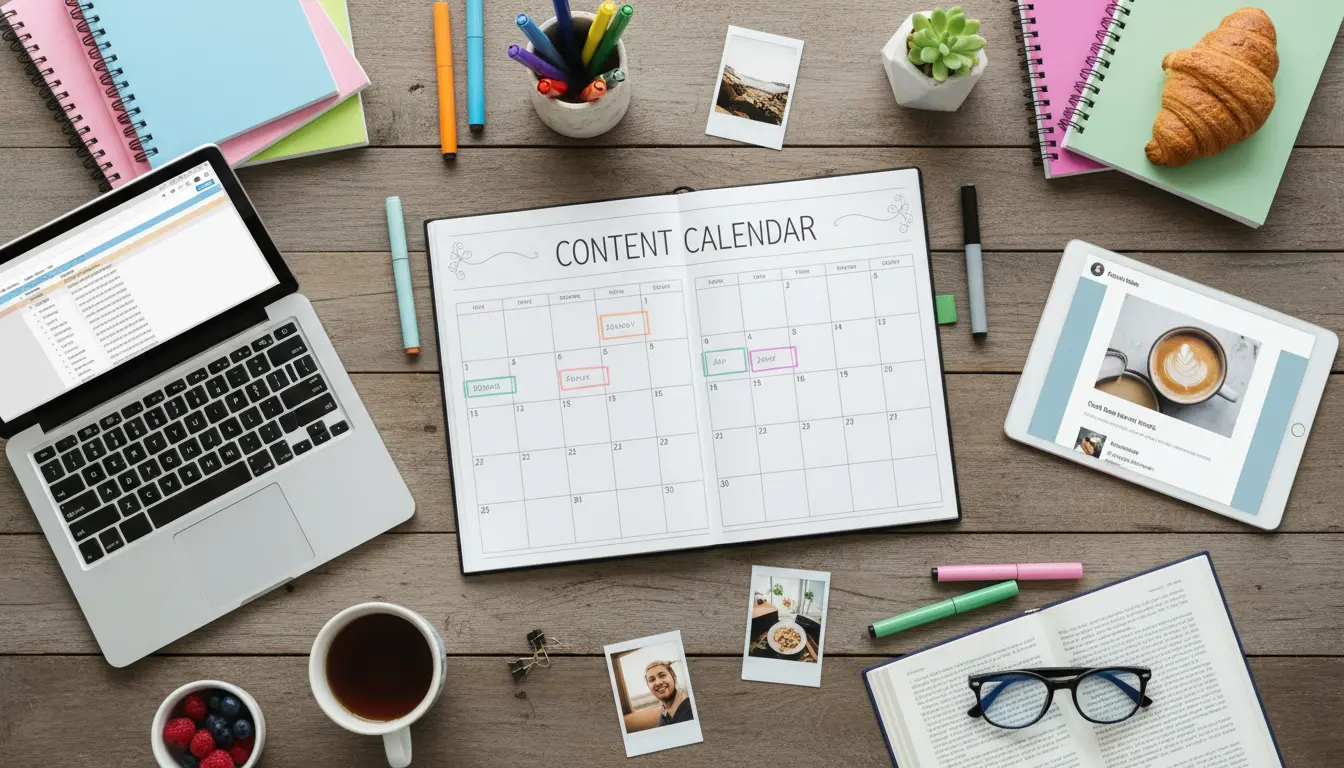
Why a content calendar matters
A content calendar turns ideas into consistent action. It helps small teams schedule posts, coordinate campaigns, and avoid last-minute work.
With a calendar, you balance topics, reuse assets, and measure performance over time. That makes content efforts predictable and scalable.
How to create a content calendar: an overview
Creating a content calendar involves five main steps: set goals, choose a format, map content types, schedule, and review performance. Follow a repeatable workflow so your calendar stays useful.
Below are practical steps and templates you can apply immediately to a blog, email newsletter, or social channels.
Step 1: Define goals and audience
Start with clear goals for the quarter or month. Goals might include increasing website traffic, generating leads, or growing social followers. Define the primary audience for each channel.
Example goals:
- Increase blog visits by 20% in three months
- Generate 50 newsletter signups per month
- Post three times weekly on Instagram to build brand awareness
Step 2: Choose a content calendar format
Pick a format that fits your team size and workflow. Common options include spreadsheets, shared calendars, and dedicated tools.
- Spreadsheet: Simple, flexible, and easy to customize. Good for solo owners.
- Shared calendar (Google Calendar/Outlook): Visual timeline and reminders.
- Project management tool (Trello/Asana/Notion): Useful for approval steps and asset tracking.
Choose one platform and keep the structure consistent so everyone knows where to find information.
Step 3: Map content types and channels
List the content types you will produce: blog posts, email newsletters, social posts, videos, or downloadable guides. Assign channels and frequency for each type.
A simple structure can include the following columns: publish date, channel, content type, title/topic, owner, status, and notes or links to assets.
Step 4: Create an editorial cadence
Decide how often to publish on each channel. Smaller teams should aim for consistency over volume. For example, one blog post per week and three social posts per week can be more effective than sporadic activity.
Use batching to save time: research topics one day, write the next, and schedule posts together. Batching reduces context switching and improves quality.
- Weekly: Social posts and short updates
- Biweekly or monthly: Blog posts and long-form content
- Quarterly: Major campaigns, downloadable resources, or webinars
Practical tips for a usable content calendar
Make the calendar actionable. Include deadlines, responsible people, and asset links. Keep entries concise so the calendar remains scannable.
Use tags or color coding to show content themes, promotion stages, or priority. This visual cue speeds up planning meetings and status checks.
Promotion and repurposing rules
Map a promotion plan for each content piece. Decide how many times and where you will share it during the first 30 days after publication.
Repurpose long-form content into smaller assets to extend reach. For example, turn a blog post into social quotes, a short video, and an email snippet.
Review cadence and performance tracking
Set a regular review, such as a monthly content meeting. Look at metrics tied to your goals: page views, conversions, social engagement, and signups.
Adjust frequency, topics, or channels based on what performs best. Use simple A/B tests for headlines or post times to refine your approach.
Small real-world example
Case study: A local bakery used a content calendar to grow online orders. Before the calendar, posts were irregular and relied on staff availability.
They switched to a weekly plan: two social posts, one blog post per month, and a monthly email promoting seasonal items. They tracked online order conversions and found a 30% increase in weekend orders over three months.
Key changes that helped:
- Scheduled posts promoting the weekend special every Thursday
- Reused blog photos for social ads and email banners
- Assigned one staff member to manage scheduling and reporting
Quick content calendar template (starter)
Use this minimal template to build your first calendar. Add columns as needed for approvals and asset links.
- Publish Date
- Channel
- Content Type
- Title or Topic
- Owner
- Status (Idea, Draft, Scheduled, Published)
- Notes/Links
Common pitfalls and how to avoid them
Avoid overcomplicating the calendar. Too many columns or rigid rules lead to neglect. Start simple and add fields only when needed.
Also, prevent single-point failure by training at least two people on the calendar workflow. That keeps content flowing during absences.
Next steps to get started this week
1. Pick a format (spreadsheet or tool) and create the template. 2. Plan content for the next 30 days and assign owners. 3. Schedule posts and set a review date.
Within one month you will have a clearer view of what topics resonate and where to focus resources. Iterate based on results and keep the process simple and repeatable.