
What Is Home Composting and Why It Matters
Home composting turns kitchen and yard waste into nutrient-rich soil amendment. It reduces landfill waste and improves garden soil structure and fertility.
This guide explains simple, practical steps to start home composting and keep it working year-round. Use these instructions whether you have a balcony, small yard, or larger garden.
Choose a Method: Hot vs Cold Home Composting
Decide between hot composting for faster results and cold composting for low-maintenance recycling. Each method fits different time and space needs.
Hot Composting
Hot composting reaches 130–160°F (55–70°C) with active management and regular turning. It breaks down materials in weeks and kills weed seeds and pathogens.
Good for gardeners who want finished compost quickly and can commit to turning and monitoring moisture.
Cold Composting
Cold composting is slower and mostly passive. You add waste and let microbes break it down over months to years. It requires less effort and is ideal for beginners or small households.
Expect slower results but consistent benefits for soil health over time.
Essential Materials and the Right Ratios
Compost works best with a mix of carbon rich “brown” materials and nitrogen rich “green” materials. Aim for a general carbon to nitrogen ratio around 25–30:1.
- Greens (nitrogen): vegetable scraps, coffee grounds, fresh grass clippings, green leaves.
- Browns (carbon): dried leaves, shredded paper, straw, cardboard, small wood chips.
- Optional additives: finished compost or garden soil to introduce microbes.
Example ratio: 2 parts browns to 1 part greens by volume for a balanced mix. Chop or shred large items to speed decomposition.
Setting Up a Home Composting System
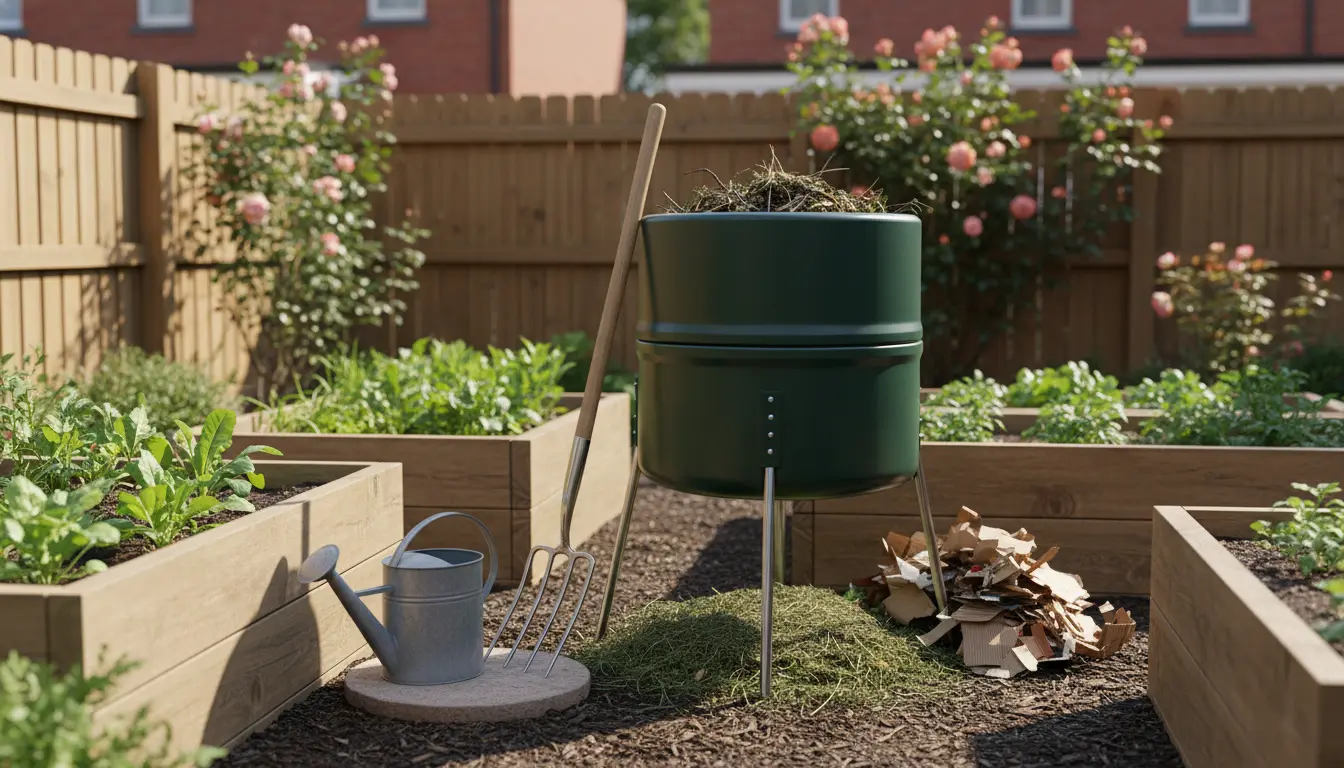
Choose a container that fits your space: tumbler, open bin, or a simple heap. Location should be convenient, well-drained, and partially shaded.
Basic steps to set up:
- Place a layer of coarse browns at the bottom for aeration.
- Add alternating layers of greens and browns, keeping the pile moist like a wrung-out sponge.
- Turn or mix regularly for hot composting; leave undisturbed for cold composting.
Managing Your Compost Pile
Temperature, moisture, and aeration are key. Monitor these weekly for best results.
- Temperature: Hot piles should feel warm to the touch and may steam in cold weather.
- Moisture: Keep it damp but not soggy. Add water or dry browns to correct moisture.
- Aeration: Turn the pile or use a tumbler to introduce oxygen for faster decomposition.
Troubleshooting Common Problems
Smelly piles, slow breakdown, and pests are common issues. Adjusting balance and management usually fixes them.
- Smell: Add more browns and increase turning to reduce odor.
- Slow decomposition: Chop materials smaller and add nitrogen-rich greens.
- Pests: Avoid meat, dairy, and oily foods; use a closed bin or bury kitchen scraps in the center.
Earthworms and microbes do most of the work in a compost pile. A healthy compost heap can contain millions of microorganisms that convert waste into usable nutrients for plants.
Speeding Up Composting
If you want finished compost faster, focus on surface area, moisture, and heat. Chop or shred inputs and maintain a pile at least 3 feet wide and 3 feet tall for effective heat retention.
Turning the pile every 1–2 weeks with adequate moisture will produce finished compost in 2–3 months for hot systems.
Using Finished Compost in Your Garden
Finished compost is dark, crumbly, and earthy-smelling. Use it as a top dressing, mix it into potting soil, or work it into garden beds to improve structure and fertility.
- Vegetable beds: Mix 1–2 inches of compost into the topsoil before planting.
- Containers: Replace up to 25% of potting mix with compost for better water retention.
- Lawn: Apply a thin layer and rake it in to feed grass and improve soil.
Case Study: Small Urban Garden Success
Maria, a balcony gardener with limited space, used a 60-liter tumbler to start composting. She balanced kitchen greens with shredded cardboard and turned the tumbler twice a week.
Within four months she had rich compost to mix into her container vegetable mixes. Her tomato yields improved and she reduced household waste by 35%.
Simple Checklist to Start Home Composting Today
- Choose a bin type that fits your space.
- Collect greens and browns separately.
- Maintain moisture and aeration.
- Monitor and adjust for odor and pests.
- Harvest and use finished compost in your garden.
Home composting is a practical, low-cost way to recycle organic waste and improve soil health. Start small, learn by doing, and scale your system as you gain confidence.