
Composting turns kitchen scraps and yard waste into a useful soil amendment. This guide explains simple steps to begin home composting for beginners and keep a healthy compost pile with minimal effort.
What Is Home Composting for Beginners
Home composting breaks down organic matter into humus through microbes, moisture, and oxygen. The process reduces landfill waste and returns nutrients to soil for gardens and potted plants.
Beginners can start with a small bin or pile and scale up. You do not need special tools or large outdoor space to compost effectively.
Benefits of Home Composting
Composting offers multiple practical benefits for households and gardens. It lowers waste disposal costs and improves soil structure and water retention.
- Reduces household organic waste and associated odors in garbage.
- Creates free, nutrient-rich soil conditioner for plants.
- Improves soil aeration, drainage, and microbial life.
- Helps sequester carbon when used in soil.
Basic Materials: Greens and Browns
Successful compost needs a balance of nitrogen-rich “greens” and carbon-rich “browns.” Proper balance encourages active decomposition without bad odors.
- Greens (nitrogen): fruit and vegetable scraps, coffee grounds, fresh grass clippings.
- Browns (carbon): dry leaves, straw, shredded paper, cardboard.
A common target is roughly 2 to 3 parts browns to 1 part greens by volume. Adjust based on how the pile behaves.
Choosing a Compost Bin
Options range from open piles to enclosed tumblers and store-bought bins. Choose a system that fits space, budget, and effort level.
Bin Options for Home Composting for Beginners
- Open pile: lowest cost, needs turning and space.
- Plastic or wooden bin: contains material, looks tidy, slower but manageable.
- Tumbler: easy to turn, faster, good for small yards and patios.
- Bokashi or indoor composting: for apartments or limited outdoor space; ferments food waste for later burial or composting.
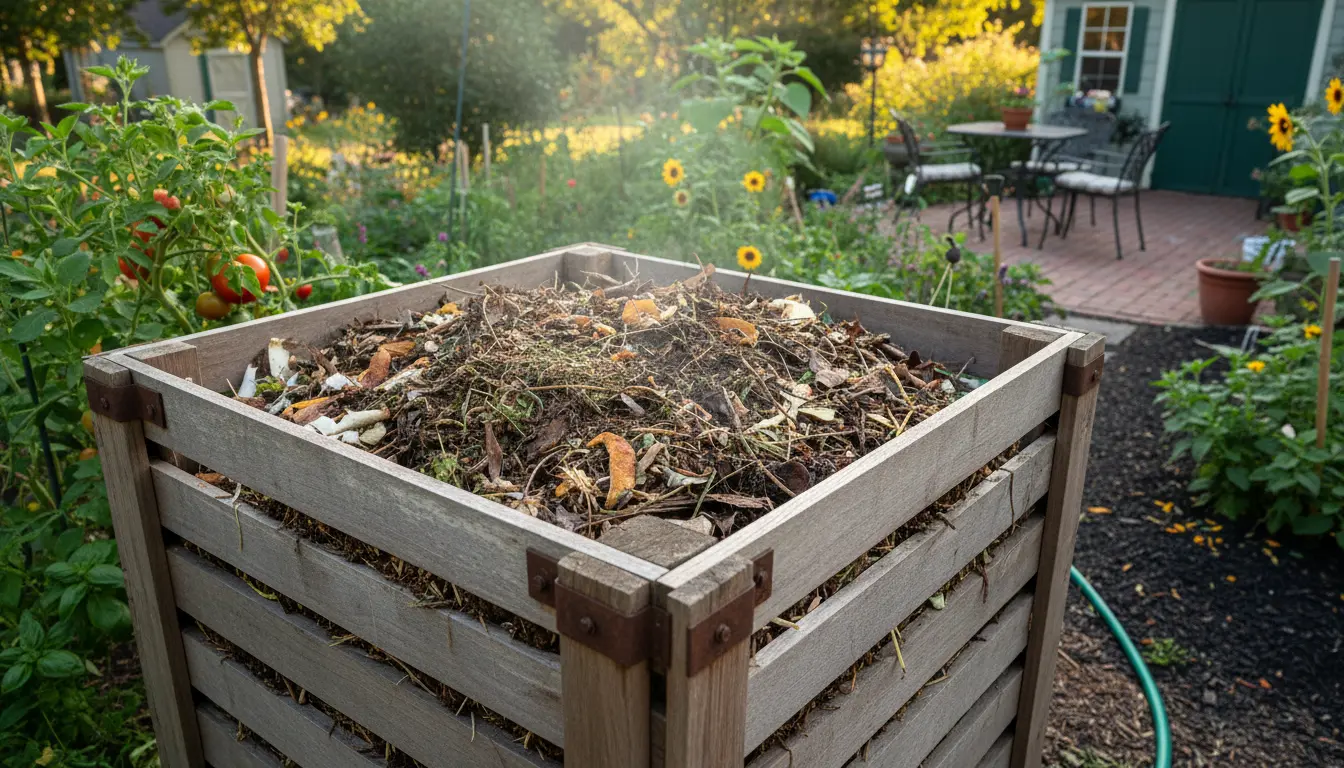
Step-by-Step: How to Start Your Compost Bin
- Select a level spot with some shade for your bin to maintain moisture and microbial activity.
- Start with a 3–6 inch layer of coarse browns such as twigs to aid airflow at the base.
- Add alternating layers of greens and browns, keeping the overall mix balanced.
- Keep the pile moist like a wrung-out sponge; add water if dry or add browns if too wet.
- Turn or aerate the pile every 1–2 weeks to speed decomposition and prevent odors.
Maintaining the Compost
Routine checks are the easiest way to maintain a healthy compost system. Monitor temperature, moisture, and odor to guide adjustments.
- Temperature: a hot, active pile reaches 120–160°F when decomposition is vigorous. Cool piles still compost but more slowly.
- Moisture: if it smells like ammonia or rotten eggs, add browns and turn it; if it is dry, add water and greens.
- Turning: use a pitchfork, shovel, or tumbler mechanism to mix layers and reintroduce oxygen.
Troubleshooting Common Problems
Beginners often face a few predictable issues. Simple changes fix most problems quickly.
Smell
Sour or putrid odors usually mean too much nitrogen or poor aeration. Add dry browns and turn the pile.
Pests
Raccoons, rodents, or flies may be attracted to exposed food scraps. Bury food under browns, use a closed bin or fine mesh, and avoid meat, dairy, and oily foods.
Slow Decomposition
If compost barely changes, the pile may be too dry, too cold, or lacking nitrogen. Chop materials into smaller pieces, add some greens, and keep it moist.
Composting can reduce household waste volume by up to 30 percent. Finished compost typically takes 3 months to 2 years depending on method and maintenance.
How to Tell When Compost Is Ready
Finished compost is dark brown, crumbly, and smells earthy. Most recognizable food bits are broken down and the material is uniform.
Use finished compost as a top dressing, mixed into potting soil, or worked into garden beds to improve fertility and structure.
Real-World Example: Sarah’s Small Yard Compost
Sarah lives in a suburban row house with a small backyard. She chose a tumbler to keep things tidy and avoid pests.
She followed a simple routine: collect kitchen scraps in a countertop pail, empty to the tumbler twice a week, and turn every 4–5 days. Within four months she had usable compost for her raised vegetable beds.
Her key wins were consistent turning and balancing brown materials from leaf cleanups with kitchen greens.
Practical Tips and Final Checklist
- Chop or shred large items to speed decomposition.
- Keep a separate bin or bucket for kitchen scraps to reduce trips and odors.
- Store extra browns like shredded paper or dried leaves for quick fixes.
- Avoid meat, dairy, and fat unless using a secure, hot composting system.
Home composting for beginners is approachable and rewarding. Start small, monitor the pile, and adjust as you learn. In time you’ll produce nutrient-rich compost that benefits plants and reduces household waste.