
Composting at home turns kitchen scraps and yard waste into rich soil amendment. This guide explains simple methods, basic maintenance, and common problems to help beginners succeed.
Why Choose Home Composting
Home composting reduces household waste and creates nutrient-rich compost for gardens and potted plants. It also lowers disposal costs and reduces methane emissions from landfills.
Compost improves soil structure, water retention, and plant health. Even small apartment setups can produce useful compost when done correctly.
Getting Started with Home Composting
Decide on a method that fits your space and schedule. Common options include a simple bin, a tumbler, or a worm (vermicompost) setup.
Choosing a Composting Method
Match the method to your needs. Bins are low-cost and low-tech, tumblers speed up decomposition, and vermicomposting works well indoors and for small amounts.
- Backyard bin: Affordable and scalable for yard waste.
- Compost tumbler: Faster turning and less manual labor.
- Vermicompost bin: Best for kitchens and apartments; produces very rich castings.
What to Compost and What to Avoid
Good materials break down well and provide a balance of nitrogen and carbon. Follow simple rules to avoid odor and pests.
- Greens (nitrogen): fruit and vegetable scraps, coffee grounds, fresh grass clippings.
- Browns (carbon): dry leaves, shredded paper, cardboard, straw.
- Avoid: meat, dairy, oily foods, diseased plants, and pet waste from carnivores.
Maintaining Your Home Composting System
Maintenance keeps the compost active and odor-free. Focus on balance, moisture, and airflow rather than exact measurements.
Balancing Greens and Browns
Aim for a balanced mix: roughly 2 parts browns to 1 part greens by volume is a good starting point. Too many greens leads to smell; too many browns slow decomposition.
Layer materials as you add them and chop large pieces to speed up breakdown.
Moisture and Aeration
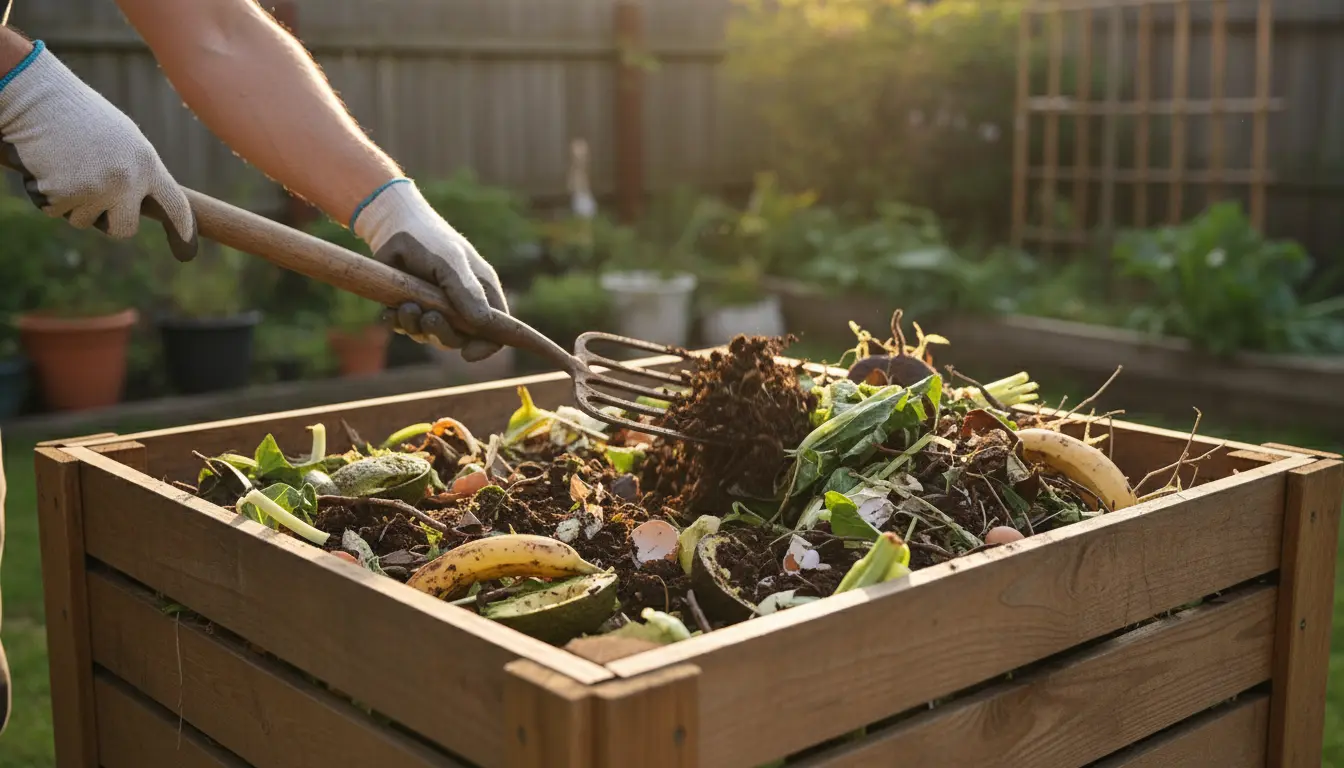
Compost should be as damp as a wrung-out sponge. Add water if dry or more browns if soggy. Aerate by turning the pile every 1–2 weeks for faster composting.
Tumblers make aeration easier, while bins may need a garden fork or pitchfork for turning.
Troubleshooting Common Problems
Problems usually indicate a single fix. Identify the symptom and apply the correct adjustment.
- Bad odor: Add browns and turn to introduce air.
- Slow decomposition: Chop materials finer and increase greens or add a nitrogen source.
- Fruit flies or pests: Bury food scraps deeper and cover with browns, or use a closed bin.
- Too wet: Add dry browns and turn; improve drainage or cover during heavy rain.
Using Finished Compost
Finished compost looks dark, crumbly, and earthy-smelling. It feeds plants gradually and improves soil biology.
- Top-dress lawns and garden beds with a thin layer.
- Mix into potting mixes for container plants to boost nutrients and structure.
- Use as a seed-starting amendment by mixing a small percentage into seed mixes.
Real-World Example: Urban Apartment Compost Case Study
Maria lives in a two-bedroom apartment and started vermicomposting in a small bin under her sink. She began with shredded paper and food scraps and added a cup of grounds weekly.
Within three months she produced enough castings to refresh four potted herbs. She solved fly issues by covering fresh scraps with cardboard and maintaining proper moisture.
Key wins: reduced kitchen waste by 35% and improved herb growth with minimal space and effort.
Quick Checklist to Start Home Composting
- Choose a method (bin, tumbler, or vermicompost).
- Collect greens and browns separately.
- Chop large items and layer materials when adding.
- Maintain moisture like a wrung-out sponge.
- Turn or aerate the pile every 1–2 weeks.
- Wait for dark, crumbly compost before use — typically 2–6 months.
Composting one household reduces greenhouse gas emissions and can divert up to 30 percent of household trash from landfills. Even small compost systems make a measurable environmental impact.
Home composting is a practical, low-cost way to recycle organic waste and enrich soil. Start small, keep the balance right, and adjust based on what your system needs.
With basic maintenance and simple troubleshooting, almost any household can turn scraps into a valuable resource for plants and gardens.