
Why start composting at home
Composting at home reduces kitchen and yard waste while creating nutrient-rich soil for plants. It closes the loop on organic materials and lowers the volume of trash sent to landfills.
Starting composting is practical for almost any living situation: apartment balcony, small yard, or community garden. This guide gives clear, step-by-step instructions you can follow today.
Choose a method to start composting at home
Your available space and time determine the best method. Pick one of the common approaches below and adapt it to your routine.
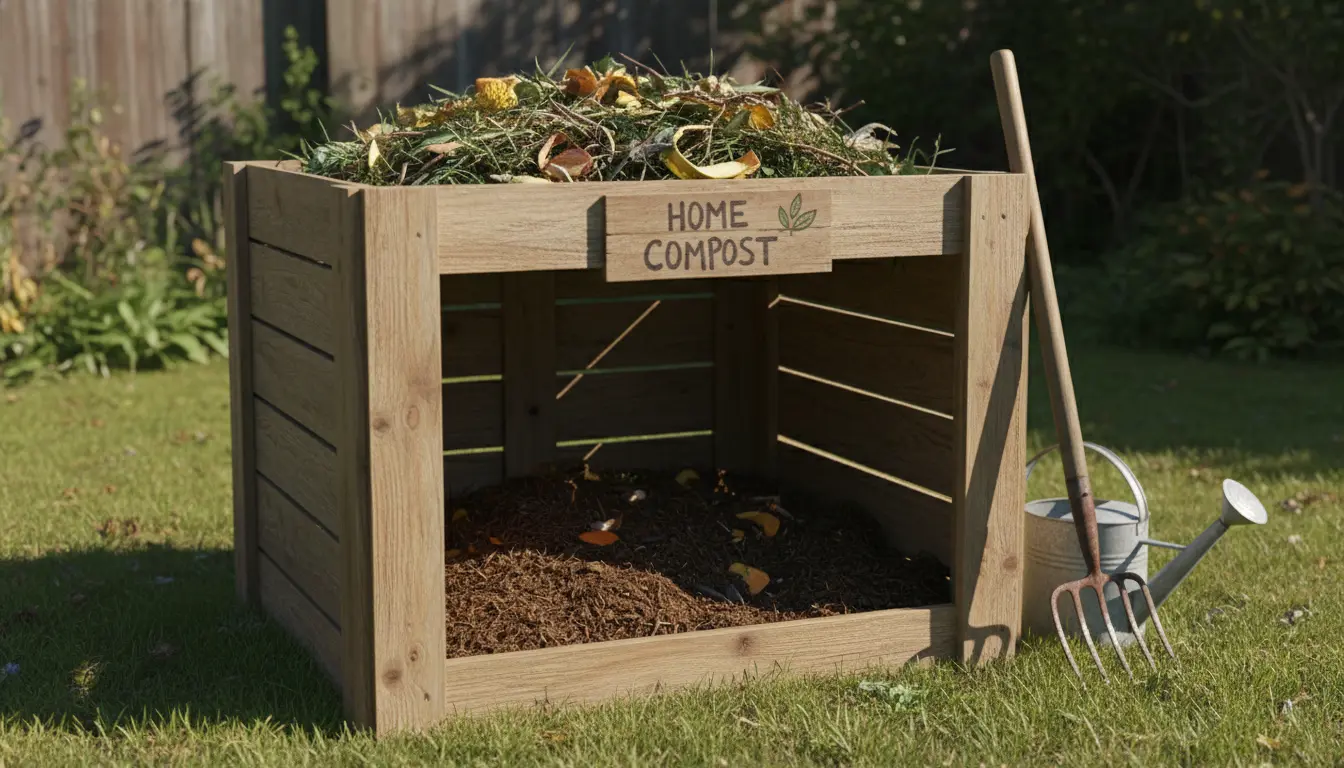
1. Backyard bin method
A simple bin or tumbler works well for houses with yards. Use a closed bin to keep pests out and retain heat.
- Pros: Faster decomposition, neat appearance.
- Cons: Requires outdoor space and occasional turning.
2. Compost tumbler
Tumblers make turning easy and speed up composting. They are lifted off the ground to improve airflow and drainage.
- Pros: Clean, less odor, quick results.
- Cons: Costlier than a DIY bin and holds less volume.
3. Bokashi or anaerobic kitchen fermentation
Bokashi uses a sealed container and a bran inoculated with beneficial microbes. It handles meat, dairy, and cooked food that traditional composting struggles with.
- Pros: Works indoors, fast, accepts wider range of food waste.
- Cons: Requires additional finishing in soil or regular compost bin.
Materials to use when you start composting at home
Compost needs a balance of carbon (brown) and nitrogen (green) materials. Aim for a mix that supports microbial activity without creating odor.
Greens (nitrogen)
- Vegetable scraps, fruit peels, coffee grounds, fresh grass clippings.
Browns (carbon)
- Dry leaves, shredded paper, cardboard, straw, sawdust in small amounts.
Helpful additives
- Finished compost or garden soil to introduce microbes.
- Small amounts of lime or crushed eggshells to reduce acidity if needed.
Step-by-step: How to start composting at home
Follow these practical steps to build and maintain an active compost pile or bin. Keep tasks small and consistent.
- Pick a container or spot. Choose a shaded, level area for outdoor bins or a kitchen-friendly container for indoor methods.
- Layer materials. Start with a 4–6 inch layer of coarse browns for drainage, then alternate greens and browns in thin layers.
- Keep it moist but not soggy. The pile should feel like a wrung-out sponge. Add water or dry material to adjust moisture.
- Turn the pile. For hot composting, turn every 1–2 weeks to add oxygen. Tumblers simplify this step.
- Wait and monitor. Finished compost can take 2 months to a year depending on method and maintenance.
Troubleshooting when you start composting at home
Common issues are easy to fix with small adjustments. Observe your pile and apply the appropriate solution.
- Bad smell: Add more browns and turn to introduce air; reduce wet food inputs.
- Slow breakdown: Chop materials smaller, increase green materials, or increase turning frequency.
- Pests: Use a closed bin, bury food scraps, or switch to Bokashi for indoor scraps.
How to know compost is ready
Finished compost is dark, crumbly, and earthy-smelling. Most recognizable pieces of food and leaves should be gone.
Test: place a handful in a pot and check plant response over a few weeks. Healthy seedlings indicate stable compost.
Case study: Small family starts composting at home
A family of four in a suburban neighborhood began backyard composting with a single 100-gallon bin. They followed a schedule of adding scraps daily and turning weekly.
After six months they reported a 40% reduction in kitchen waste going to the curb and produced enough compost for two raised vegetable beds. They used shredded leaves as the primary brown material and coffee grounds as a regular green input.
Practical tips to keep going
Consistency matters more than perfection. Small routines prevent build-up and make composting part of daily life.
- Keep a sealed countertop container for scraps and empty into the bin daily.
- Chop or shred bulky materials before adding them to speed decomposition.
- Use finished compost as a top dressing or mix into potting soil for seedlings.
Composting diverts up to 30% of household waste from landfills and can reduce methane emissions produced by anaerobic decomposition. Small changes at home add up.
Quick checklist before you start composting at home
- Choose your method: bin, tumbler, or Bokashi.
- Gather browns and greens and a place to store them.
- Establish a simple schedule for adding scraps and turning.
- Monitor moisture, smell, and decomposition progress weekly.
Starting composting at home is a practical step toward reducing waste and improving garden soil. Follow the methods above, keep observations simple, and adjust as you learn. Within months you can turn kitchen scraps into valuable compost that benefits plants and the planet.